Today I have a wonderful diy project for making an American flag shirt for Independence Day! My next post will be an outfit post so stay tuned for that, but for those of you who like to get creative and turn something old and boring into something new then get ready to be amazed. Turning a plain white tee into a new personal, vintage-looking item is simple as well as inexpensive.
Materials:
- Plain T-shirt
- Straight edge
- Dark blue and red acrylic paint
- Paint brush
- Cardboard
- Scissors
Place a piece of cardboard into the shirt so the paint does not seep through to the back.


3. Make sure the width of the red stripes is the same as the width of the white stripes. Remember there are seven red stripes and six white stripes on the American flag (unfortunately I could not fit that many!)

4. Fill in the red stripes however you want. I went for a more "worn" look with faded ends.

5. Cut a star shape out of cardboard and paint the dark blue over it so that when you remove it, a white star remains.
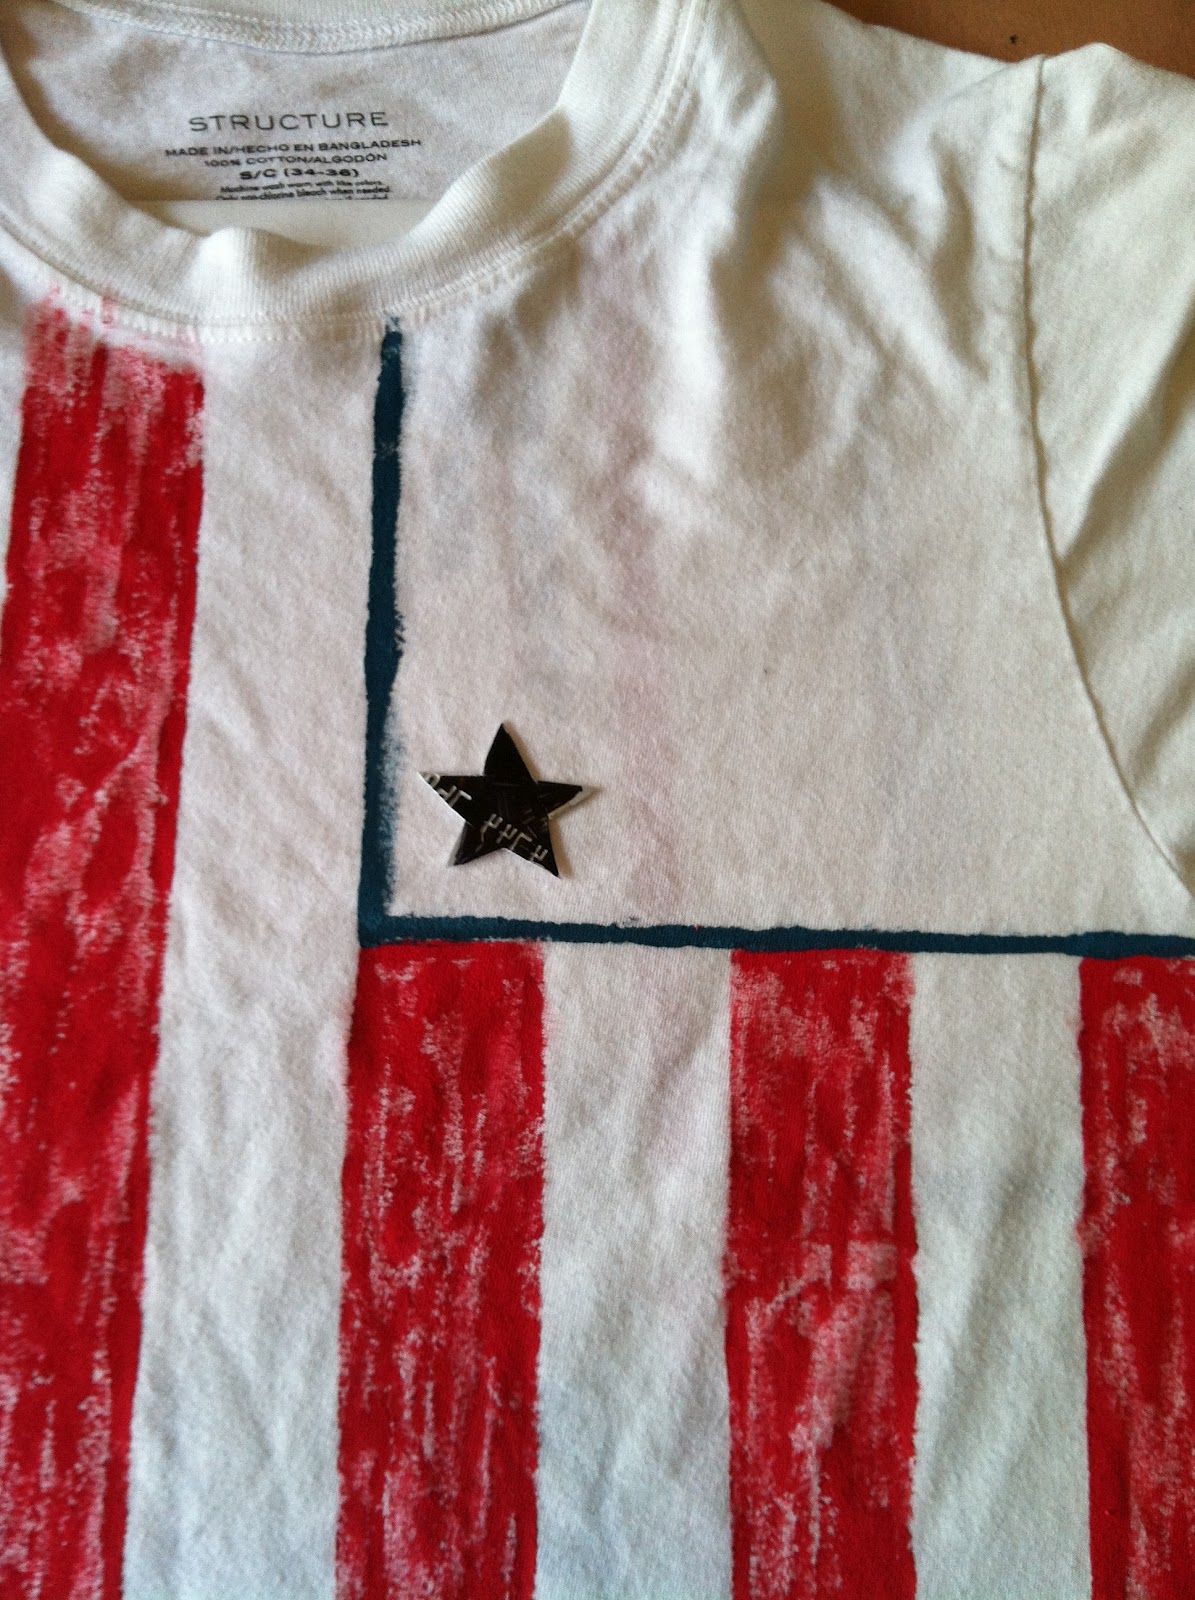

6. Fill in the rest of the blue area and add as many stars as you can fit on the shirt, but don't go over 50!

7. To make the shirt even more faded I washed it inside out in cold water, then tumbled dry and ironed it.


This is really simple and you can do virtually any design you can draw so don't throw out that old boring tee in your closet, make it into something you'll want to wear all the time. I really love the result and I cannot wait to wear it tomorrow at my brother's barbeque. Food and fireworks here I come, I promise I will take a lot of pictures!
Happy Fourth of July!


No comments:
Post a Comment